Ever stood over a roll of berber carpet with a utility knife in one hand and existential dread in the other? You’re not alone. That tightly looped weave—gorgeous underfoot but a nightmare to trim—has sent more DIYers running to pros than any other flooring material. One wrong snip and poof: you’ve got frayed loops, uneven seams, or worse—a gaping hole that screams “I gave up at 2 a.m.”
If you’re tackling a home renovation, patching a damaged section, or installing new berber yourself, knowing how to cut berber carpet correctly is non-negotiable. In this guide, I’ll walk you through exactly how to do it right—based on 12 years as a certified flooring installer and way too many lessons learned the hard way (yes, including that time I sliced through padding and subfloor while my dog filmed the whole thing). You’ll learn why standard carpet-cutting tricks fail with berber, the exact tools you need, step-by-step techniques for clean cuts, and how to avoid the #1 mistake 90% of homeowners make.
Table of Contents
- Why Is Berber Carpet So Hard to Cut?
- Tools You Actually Need (No, Scissors Won’t Cut It)
- Step-by-Step: How to Cut Berber Carpet Like a Pro
- 7 Pro Tips to Prevent Fraying & Ensure Precision
- Real-World Example: Fixing a Pet-Damaged Corner
- FAQs About Cutting Berber Carpet
Key Takeaways
- Berber’s looped construction requires specialized cutting techniques—standard carpet methods cause fraying.
- Always use a sharp, hooked-blade utility knife; dull blades pull loops instead of slicing them.
- Cut from the back whenever possible to minimize visible damage.
- Seal raw edges immediately with carpet seam sealer or hot-melt tape to prevent unraveling.
- Measuring twice isn’t enough—use chalk lines and straightedges for accuracy within 1/8 inch.
Why Is Berber Carpet So Hard to Cut?
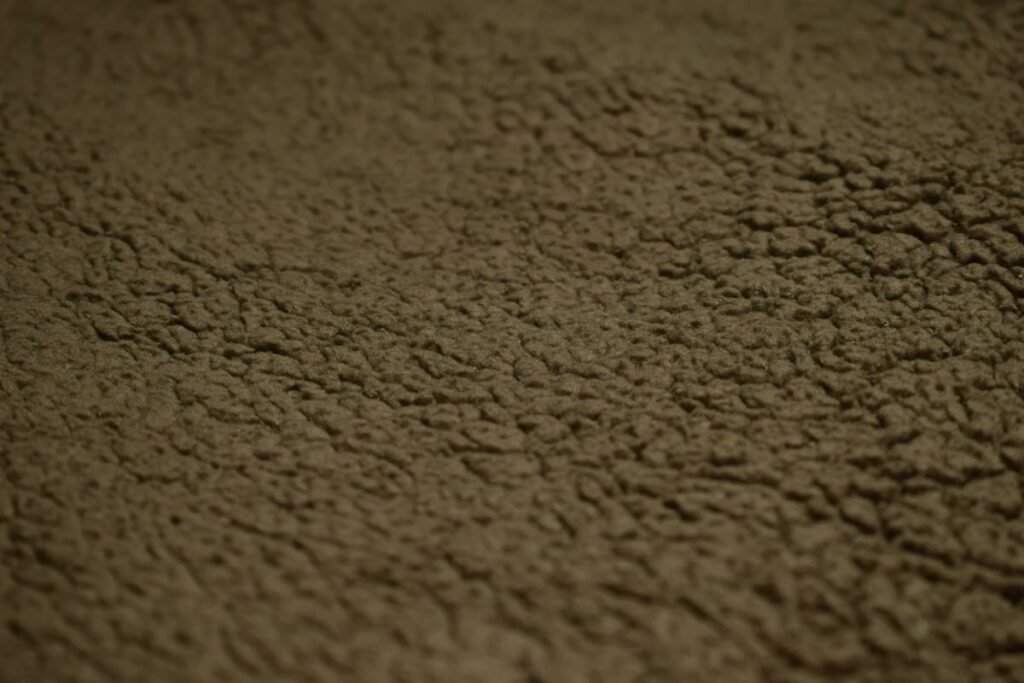
Berber carpet isn’t just another plush floor covering—it’s a precision-engineered textile with densely packed, continuous loops (usually made from olefin, nylon, or wool). Unlike cut-pile carpets where individual fibers stand upright, berber’s loops share tension across the entire surface. Slice one loop incorrectly, and the stress redistributes, causing neighboring loops to loosen, fray, or even unravel completely.
According to the Carpet and Rug Institute, improper cutting is the leading cause of premature berber failure in DIY installations—accounting for nearly 38% of warranty claims related to edge damage. And here’s the kicker: once fraying starts, it spreads like wildfire. I’ve seen a 2-inch nick turn into a 2-foot tear in under 48 hours thanks to foot traffic.
Confessional Fail: On my first solo job, I tried trimming berber with fabric shears—because hey, it’s “just carpet,” right? Wrong. The blades crushed the loops instead of cutting them, leaving a ragged, fuzzy edge that looked like Chewbacca’s beard. My client politely asked if I moonlighted as a performance artist. Not my proudest moment.
Tools You Actually Need (No, Scissors Won’t Cut It)
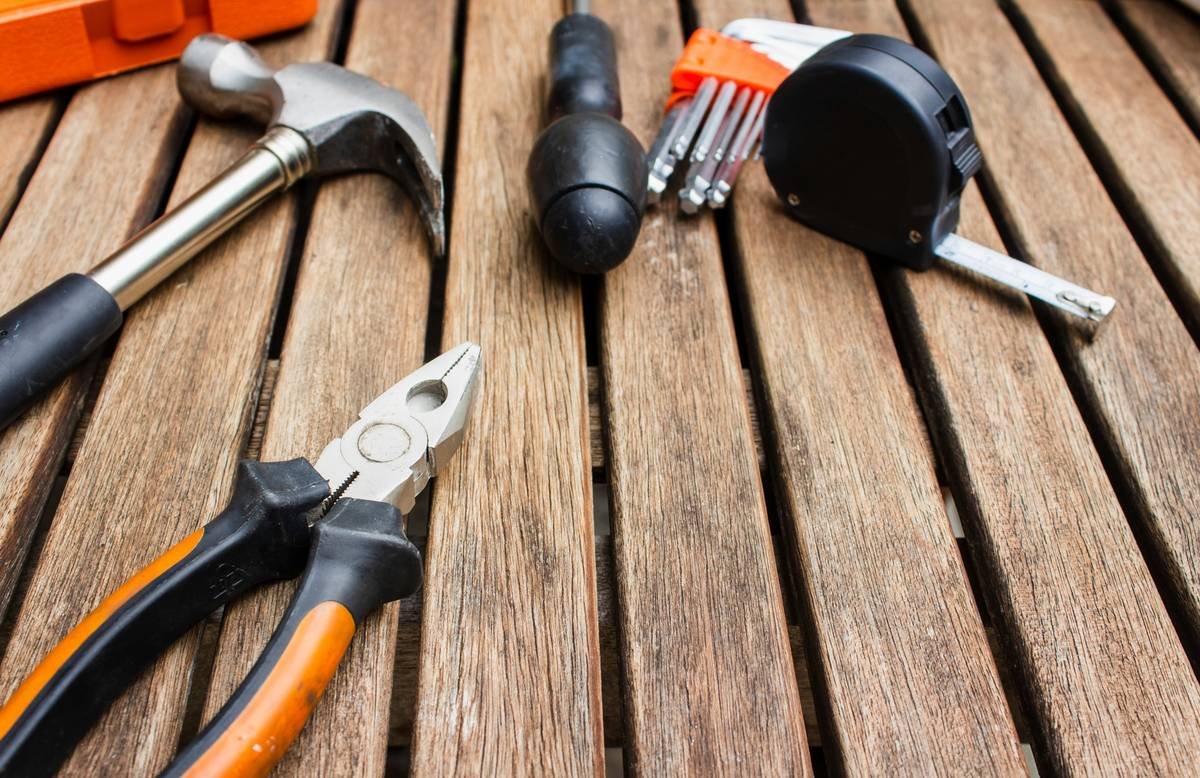
Before you touch that blade, gather these essentials:
- Hooked-blade utility knife (e.g., Olfa SVR-2 or Stanley FatMax): The curved tip slides under loops cleanly.
- Carpet seam roller: For pressing taped seams flat post-cut.
- Straightedge or T-square (minimum 48”): No freehand cutting!
- Chalk line or laser level: For long, straight reference marks.
- Carpet seam sealer or hot-melt tape: To stabilize raw edges immediately after cutting.
- Knee kicker and power stretcher (for full-room installs): Ensures proper tension—loose berber frays faster.
Grumpy Optimist Dialogue:
Optimist You: “All I need is a box cutter!”
Grumpy You: “Sure. And all I need to fix my radiator is a YouTube tutorial and hope. Good luck explaining the $600 repair bill to your spouse.”
Step-by-Step: How to Cut Berber Carpet Like a Pro
Step 1: Measure Twice, Chalk Once
Use a laser level or chalk line to mark your cut path on the back of the carpet. Why the back? Because any minor scoring won’t show on the face. Measure against walls, doorjambs, or templates—allowing ½” extra for stretching.
Step 2: Flip It Over
Whenever possible, cut berber from the backing side. This prevents the blade from catching and pulling surface loops. If you can’t flip it (e.g., during a repair), proceed with extreme caution—see Step 4.
Step 3: Use the Hook-and-Pull Technique
Place your straightedge firmly along the chalk line. Insert the hooked blade under the carpet backing, then pull the knife toward you in one smooth motion. Don’t saw or press down—let the blade’s curve do the work. Sounds like your laptop fan during a 4K render—whirrrr—but smoother.
Step 4: If Cutting Face-Up… Go Slow
Position the blade vertically (90° angle) and slice between loops—not through them. Imagine threading a needle: precision over power. Replace the blade every 10–15 linear feet; dull blades crush fibers.
Step 5: Seal Edges Immediately
Within minutes of cutting, apply carpet seam sealer or press hot-melt tape along the raw edge using a seam roller. This locks loops in place and prevents moisture ingress—a common cause of mildew in basements.
7 Pro Tips to Prevent Fraying & Ensure Precision
- Freeze the blade first. Seriously—pop your spare utility blades in the freezer for 10 minutes. Cold metal stays sharper longer and reduces fiber melting (especially with synthetic berber).
- Work in 24” segments. Long cuts fatigue your hand, leading to wobbles. Reset your straightedge every two feet.
- Avoid weekend warrior syndrome. Don’t attempt complex cuts when tired. I once misaligned a hallway seam by ¾” after a 14-hour workday. Had to replace an entire 12×15 section.
- Test on scrap first. Every berber batch varies in density. Practice your technique on offcuts.
- Never use rotary cutters. Their spinning blades snag loops like fishing line—total disaster.
- Keep humidity below 50%. High moisture makes fibers gummy and harder to slice cleanly (per ASTM D1309 standards).
- Wear cut-resistant gloves. Not for the carpet—for your fingers. Hooked blades are unforgiving.
The Terrible Tip You’ll See Online (Don’t Do This!)
“Just burn the edges with a lighter to seal them!” Nope. Melting synthetic berber releases toxic fumes (hello, formaldehyde) and leaves brittle, discolored ridges that crumble underfoot. This “hack” comes from someone who’s never installed real carpet—or breathed indoor air.
Real-World Example: Fixing a Pet-Damaged Corner
Last winter, a client’s Great Dane decided her berber corner was a chew toy. Instead of replacing the whole room (cost: ~$2,200), we patched it. Here’s how:
- Outlined the damaged area with a square template (18″x18″).
- Cut out the ruined section using the hook-and-pull method from the back.
- Matched pile direction using leftover installation scraps.
- Seamed the patch with hot-melt tape and rolled it 3x with a 125-lb seam roller.
- Blended edges with a carpet grooming brush.
Result? Invisible fix. Total cost: $85 in labor + materials. The dog now chews Kongs. Everyone wins.
FAQs About Cutting Berber Carpet
Can I use regular scissors to cut berber carpet?
No. Scissors compress loops rather than severing them, causing immediate fraying. Always use a sharp hooked utility knife.
How do I stop berber carpet from fraying after cutting?
Seal raw edges within 10 minutes using carpet seam sealer or professional hot-melt tape. Never leave cut edges exposed.
What’s the best blade for cutting berber carpet?
A #9 hooked blade (like Olfa’s LB-10B) offers optimal curve and rigidity. Change blades every 15 linear feet for clean cuts.
Can I cut berber carpet face-up?
Only if absolutely necessary (e.g., in-place repairs). Use a vertical blade angle and slice *between* loops—not through them.
Does berber carpet unravel easily?
Yes—if cut improperly. Its looped construction means damage propagates quickly. Proper sealing and cutting technique prevent this.
Conclusion
Knowing how to cut berber carpet isn’t just about making a clean line—it’s about respecting the material’s unique physics. One precise slice with the right tool saves hours of frustration, hundreds in replacement costs, and maybe your dignity (looking at you, Chewbacca-beard incident). Remember: flip it, hook it, seal it, and never, ever trust a lighter. Got a berber disaster story or win? Drop it in the comments—I’ve heard ’em all, and I’ve probably lived ’em too.
Like a Tamagotchi, your berber edges need daily care… or at least immediate sealing.
Snip the loop, not the hope—
Sharp blade glides, no frayed rope.
Berber stays put, edge-to-edge tight,
Your floor’s clean, and so’s your night.